3 easy steps to get started
Navigating with map and compass is as easy as 1-2-3.
But learn this before you head out!

step 1
Place the compass on the map so that the edge of the ruler forms a straight line between your current position and where you want to be: your destination. Make sure the direction arrow is pointing towards your destination.

STEP 2
Turn the compass housing so that the red part of the north arrow is parallel to the meridians of the map and points north on the map. The appearance and color code varies between different compass models, but north is usually marked with N.

STEP 3
Lift the compass from the map and hold it horizontally in your hand. Turn the body and compass so that the red end of the needle lines up with the red north arrow. Now the direction arrow points to your destination. Take direction towards a landmark (also called aiming mark) along the direction arrow and start moving. Good luck!
Check out our simple video
Want to see how it works? No problem, we've made an instructional video for you. Watch this one-minute animated video to see the three steps.
There is always more to discover

Introducing the new Arc Jet and Spike Jet compasses with the new Jet 2.0 needle: world-fast, stable and reliable. We are proud to set a new standard for orienteers!

Navigating with a map and compass is as easy as 1-2-3. But there are a few things to learn before you head out.
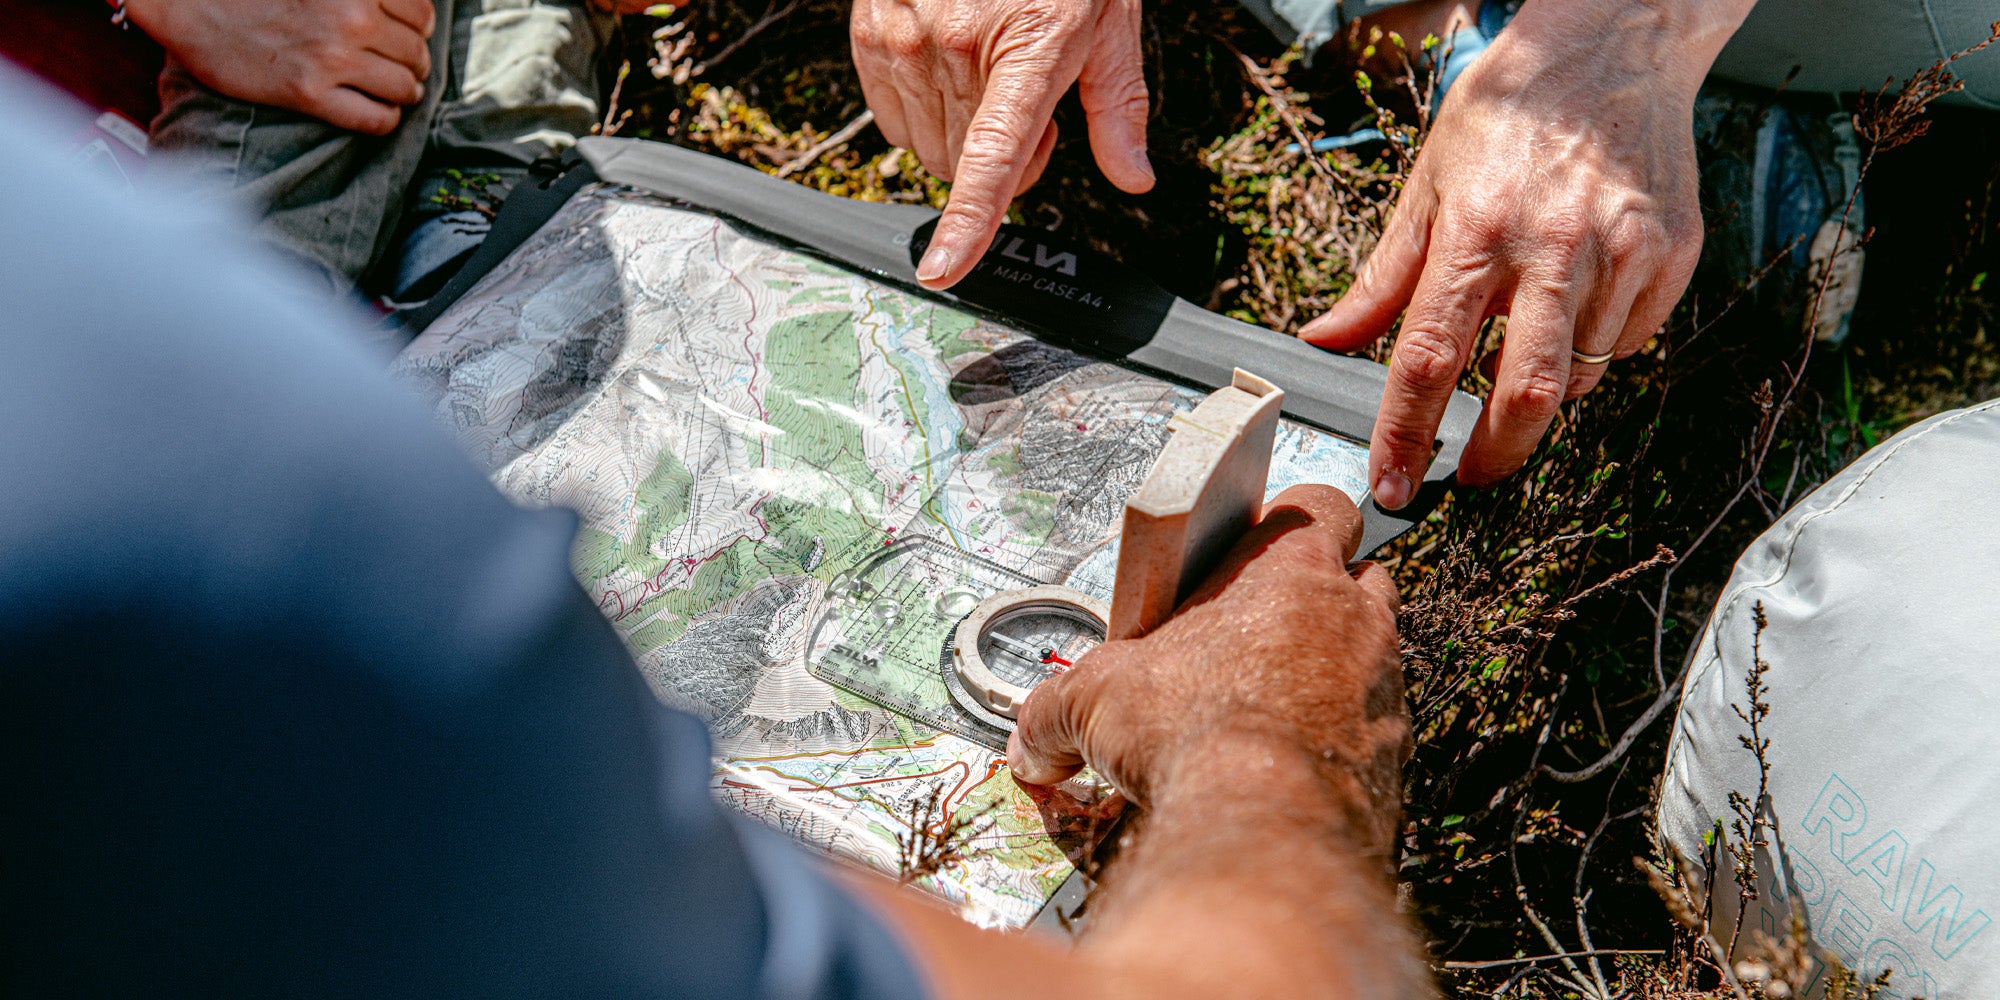
In addition to knowing the simple Silva 1-2-3 system, it is also good to have a basic knowledge of compasses.
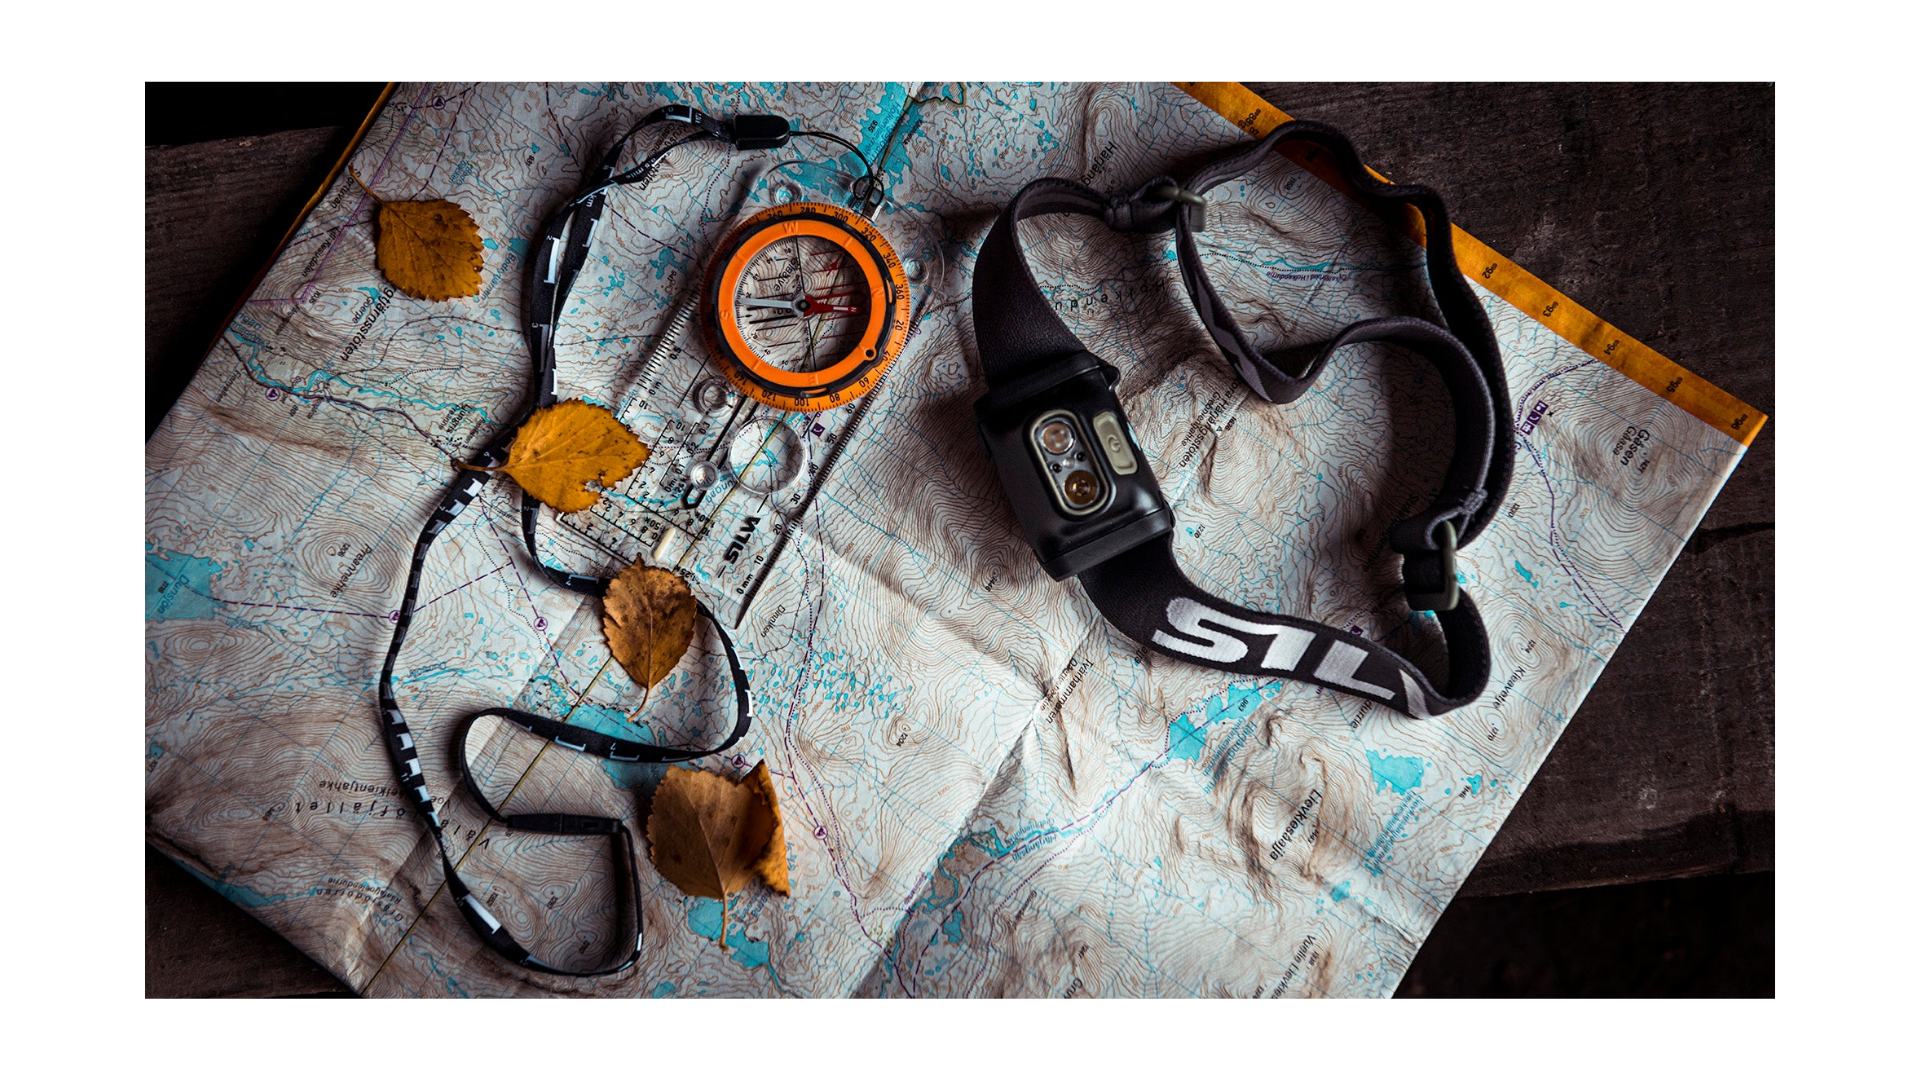
Find the compass that best suits your adventures. We have compasses all the way from beginners to advanced level.
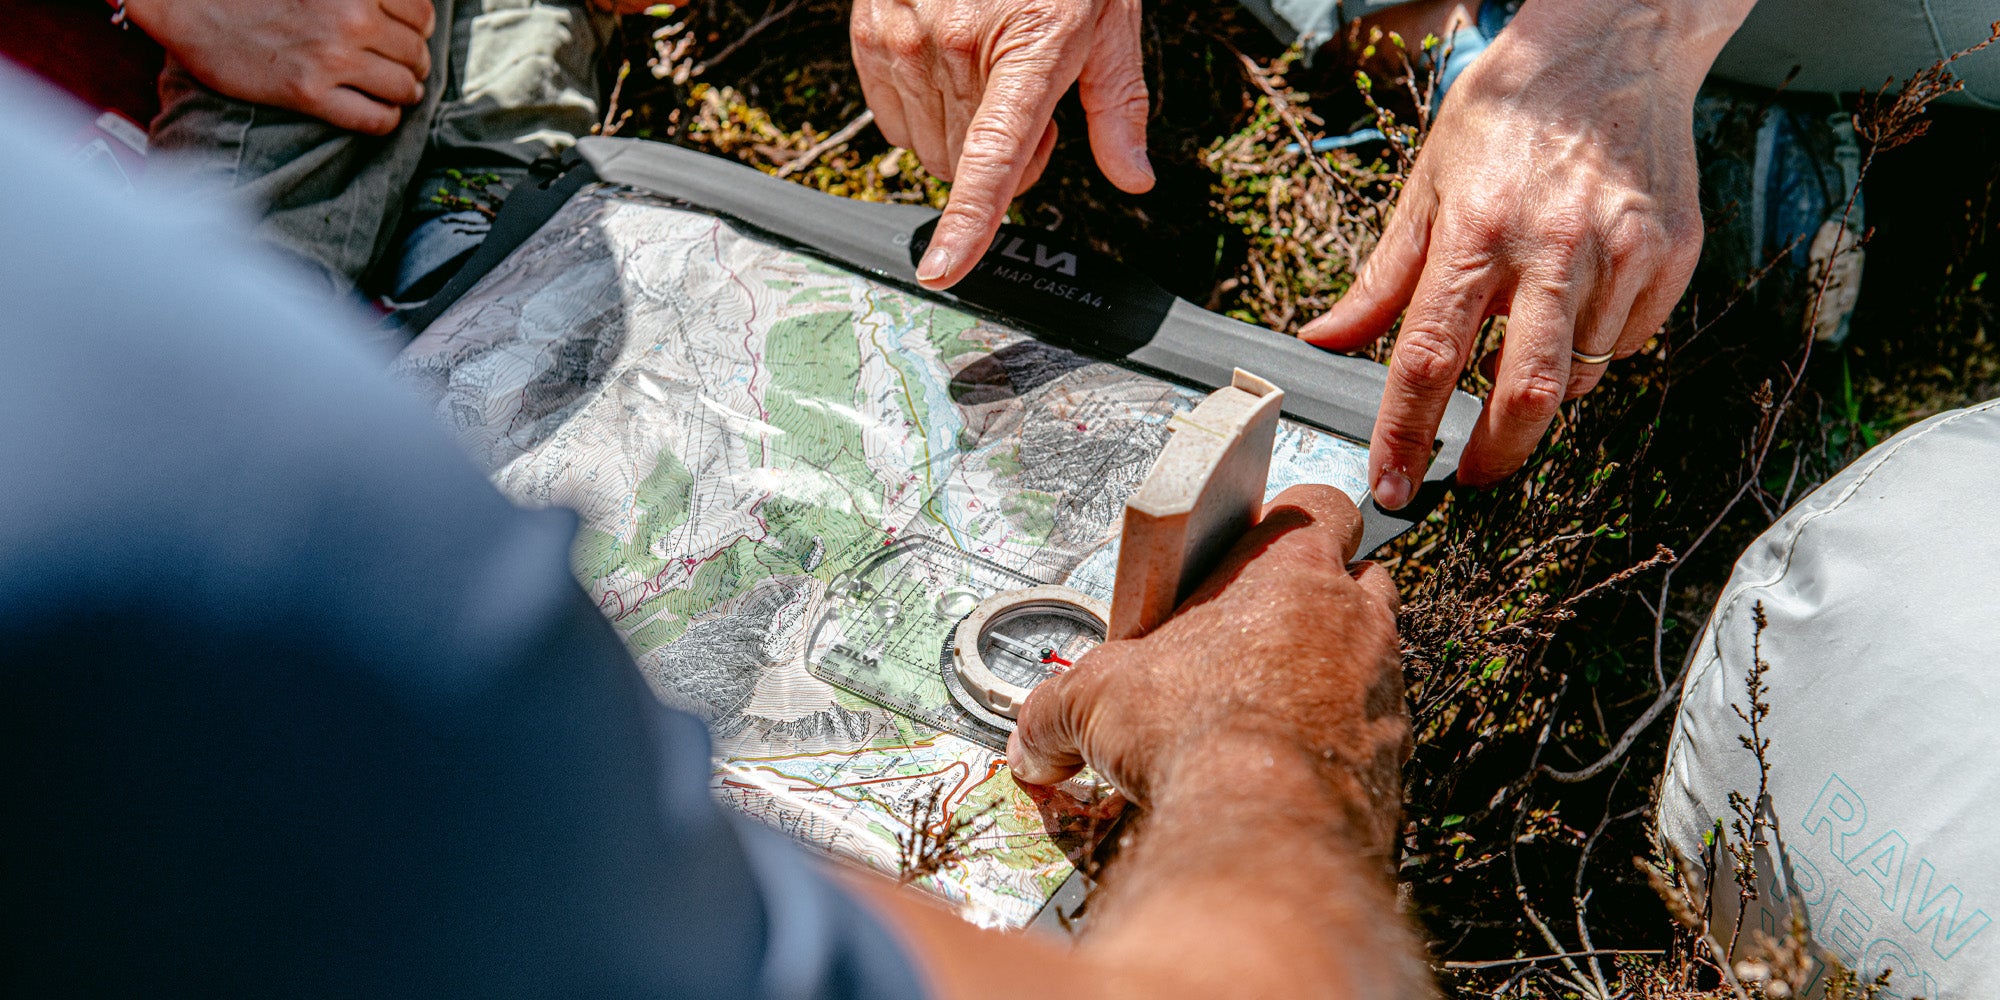
Understanding the terrain is important when planning your adventure – or when you're in the middle of it. Learn the basics and understand the symbols and lines of the map.

Once you've learned the basics, you can practice for your adventures. Take these tips along the way and you'll be extra prepared!
Are you in the right place
Please select your store


